使用Hexo+ButterFly主题构建自己的博客
前言
因为一些原因本科时候写的博客直接被我清空掉了,虽然写的不好但是也是一种记录,说实话有点可惜,不过现在重新写也不晚,我是做后端但我很喜欢Hexo这种无后端的博客系统,而且我也有用markdown做笔记的习惯,因此使用Hexo来作为我的博客很合适,而BuffterFly这个主题也很符合我的审美, 所以这篇博客记录一下搭建过程(说实话配置项确实很多,不适合Hexo新手)
注册Gitee
如果不介意域名较长的问题的话,我们可以使用GiteePage来作为我们博客的存放地点和管理工具,这样我们不仅可以白嫖一个域名,同时还可以不需要购买服务器就可以存储我们博客编译以后的文件。
Gitee官网链接:Gitee
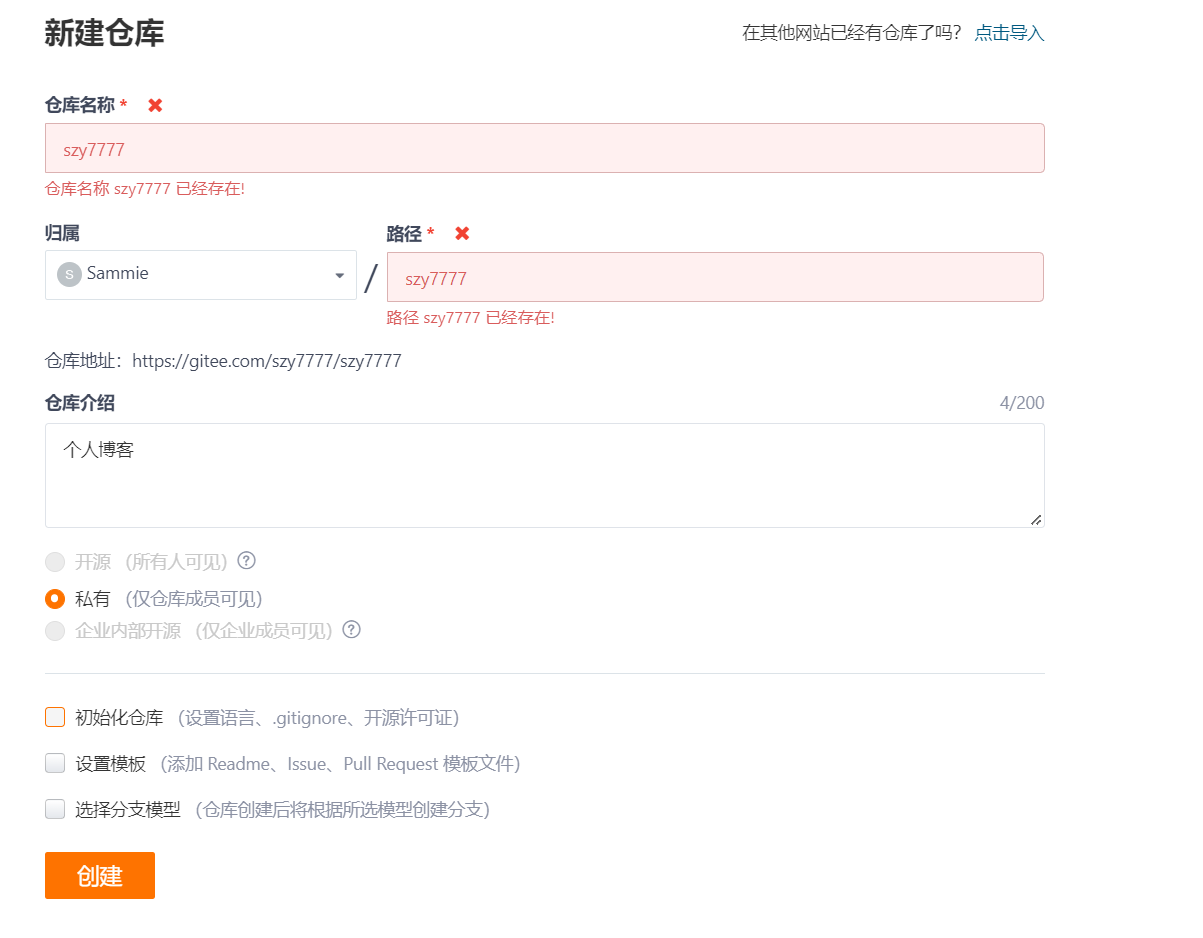
注册好账号以后登录,选择创建仓库,由于Gitee本身给用户的首页是(用户名.gitee.io),因此如果我们创建一个和用户名相同名称的仓库并使用这个仓库作为博客地址,是可以直接用(用户名.giee.io),我的用户名是szy7777,所以仓库名称也是这个,因为我提前注册过了所以下面这里显示的是已经存在这个仓库了,注意创建好仓库以后去仓库设置里面把仓库设置成开源(没办法 Gitee的规定)
安装Git和Node.js
这部分内容属于基础性的内容,不在本篇博客的讨论范围,因此我就把网上其他人的教程放在下面链接里,按照链接里的内容安装即可,已经安装过这部分内容的同学可以直接忽略
注意第二部分的node安装的时候要按照教程配置一下镜像地址,因为node官方本身的镜像地址在国外,不配置淘宝地址的话很容易在今后的使用中下载模块很慢或者直接失败
配置SSH公钥
Gitee提供了基于SSH协议的Git服务,我们可以使用SSH的方式来提交我们Hexo编译后的文件,这样我们提交编译后的文件就不用再输入账号和密码,用管理员权限打开cmd命令提示符,输入以下内容(注意#号后面是我写的注释不要粘贴过去了):
1 | git config --global user.name # 查看git用户名 |
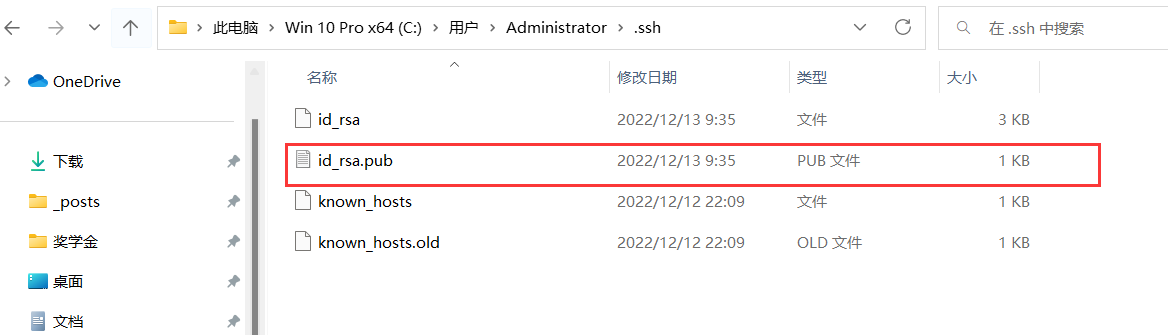
生成好了ssh以后默认是在C:\Users\sammie.ssh(sammie是各自的用户名),记得在文件夹设置里面把隐藏文件夹打开,然后找到id_rsa.pub,用文本文档打开它然后复制里面的内容,等下我们要使用
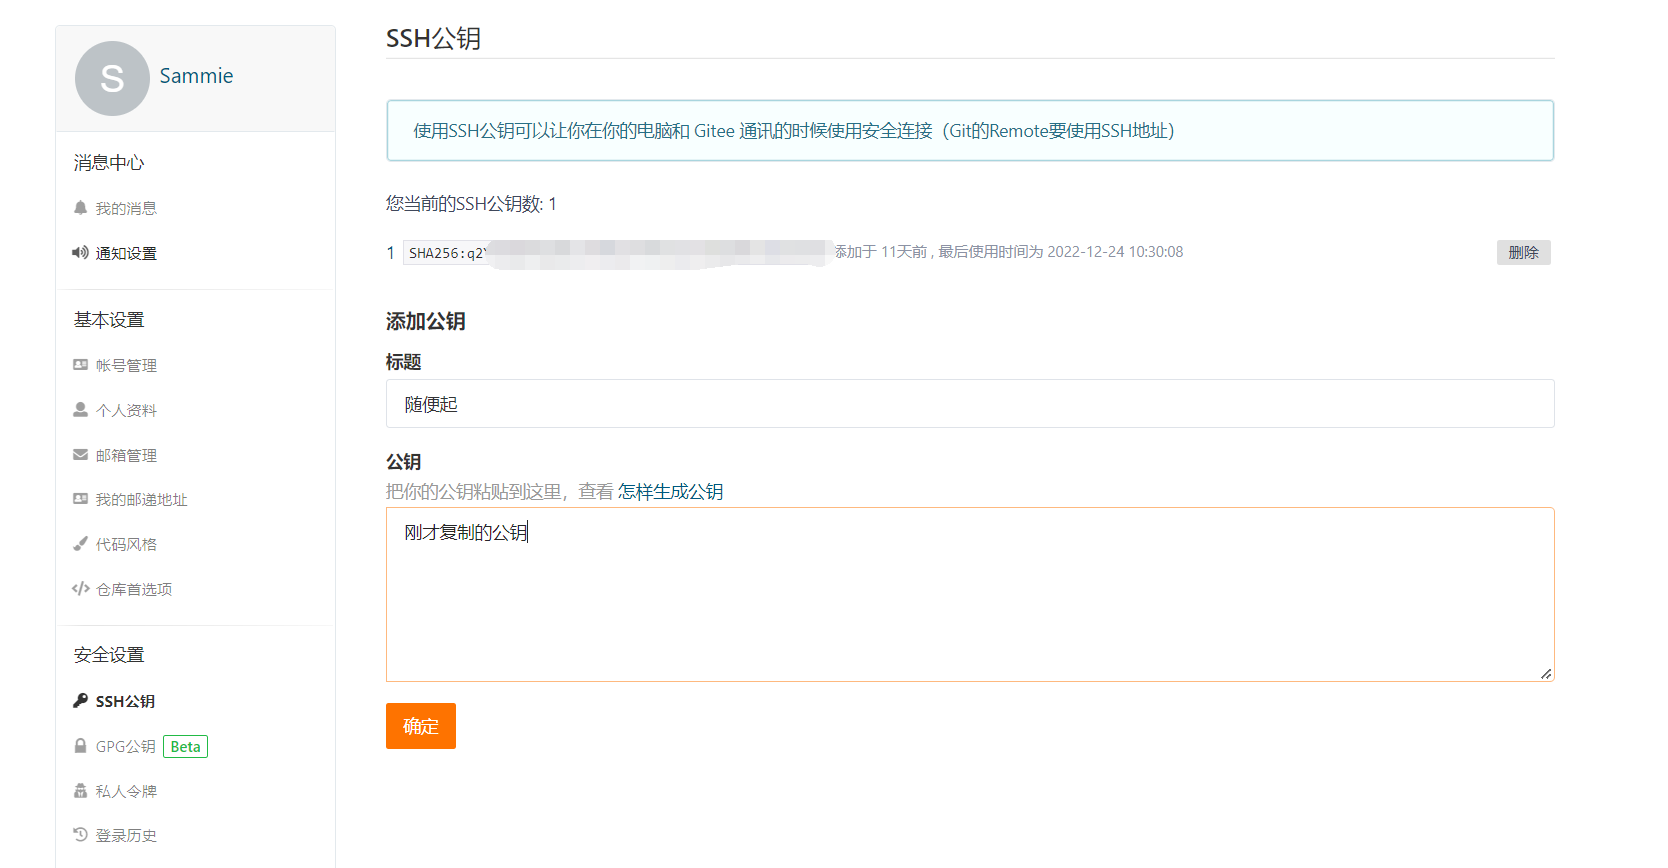
然后到Gitee中,点击设置中的安全设计选择SSH公钥,标题随便起,然后把刚才复制的公钥粘贴到这里面去,点击确定即可,我这里配置过了
打开命令提示符,输入以下指令,如果看到下面的内容就是成功了!
1 | ssh -T git@gitee.com |
安装Hexo
首先在电脑上随便选个地方创建一个文件夹,例如我是E:/blog,然后开始安装hexo
1 | npm install -g hexo # 利用npm 安装hexo |
初始化hexo
1 | cd blog # 进入blog目录 |
初始化以后的目录以及作用:
1 | . |
启动hexo的命令(以后写完博客就可以这样启动在本地看效果,具体如何推送后面会介绍):
1 | hexo clean # 清除所有之前编译好后的内容 简化命令 hexo c |
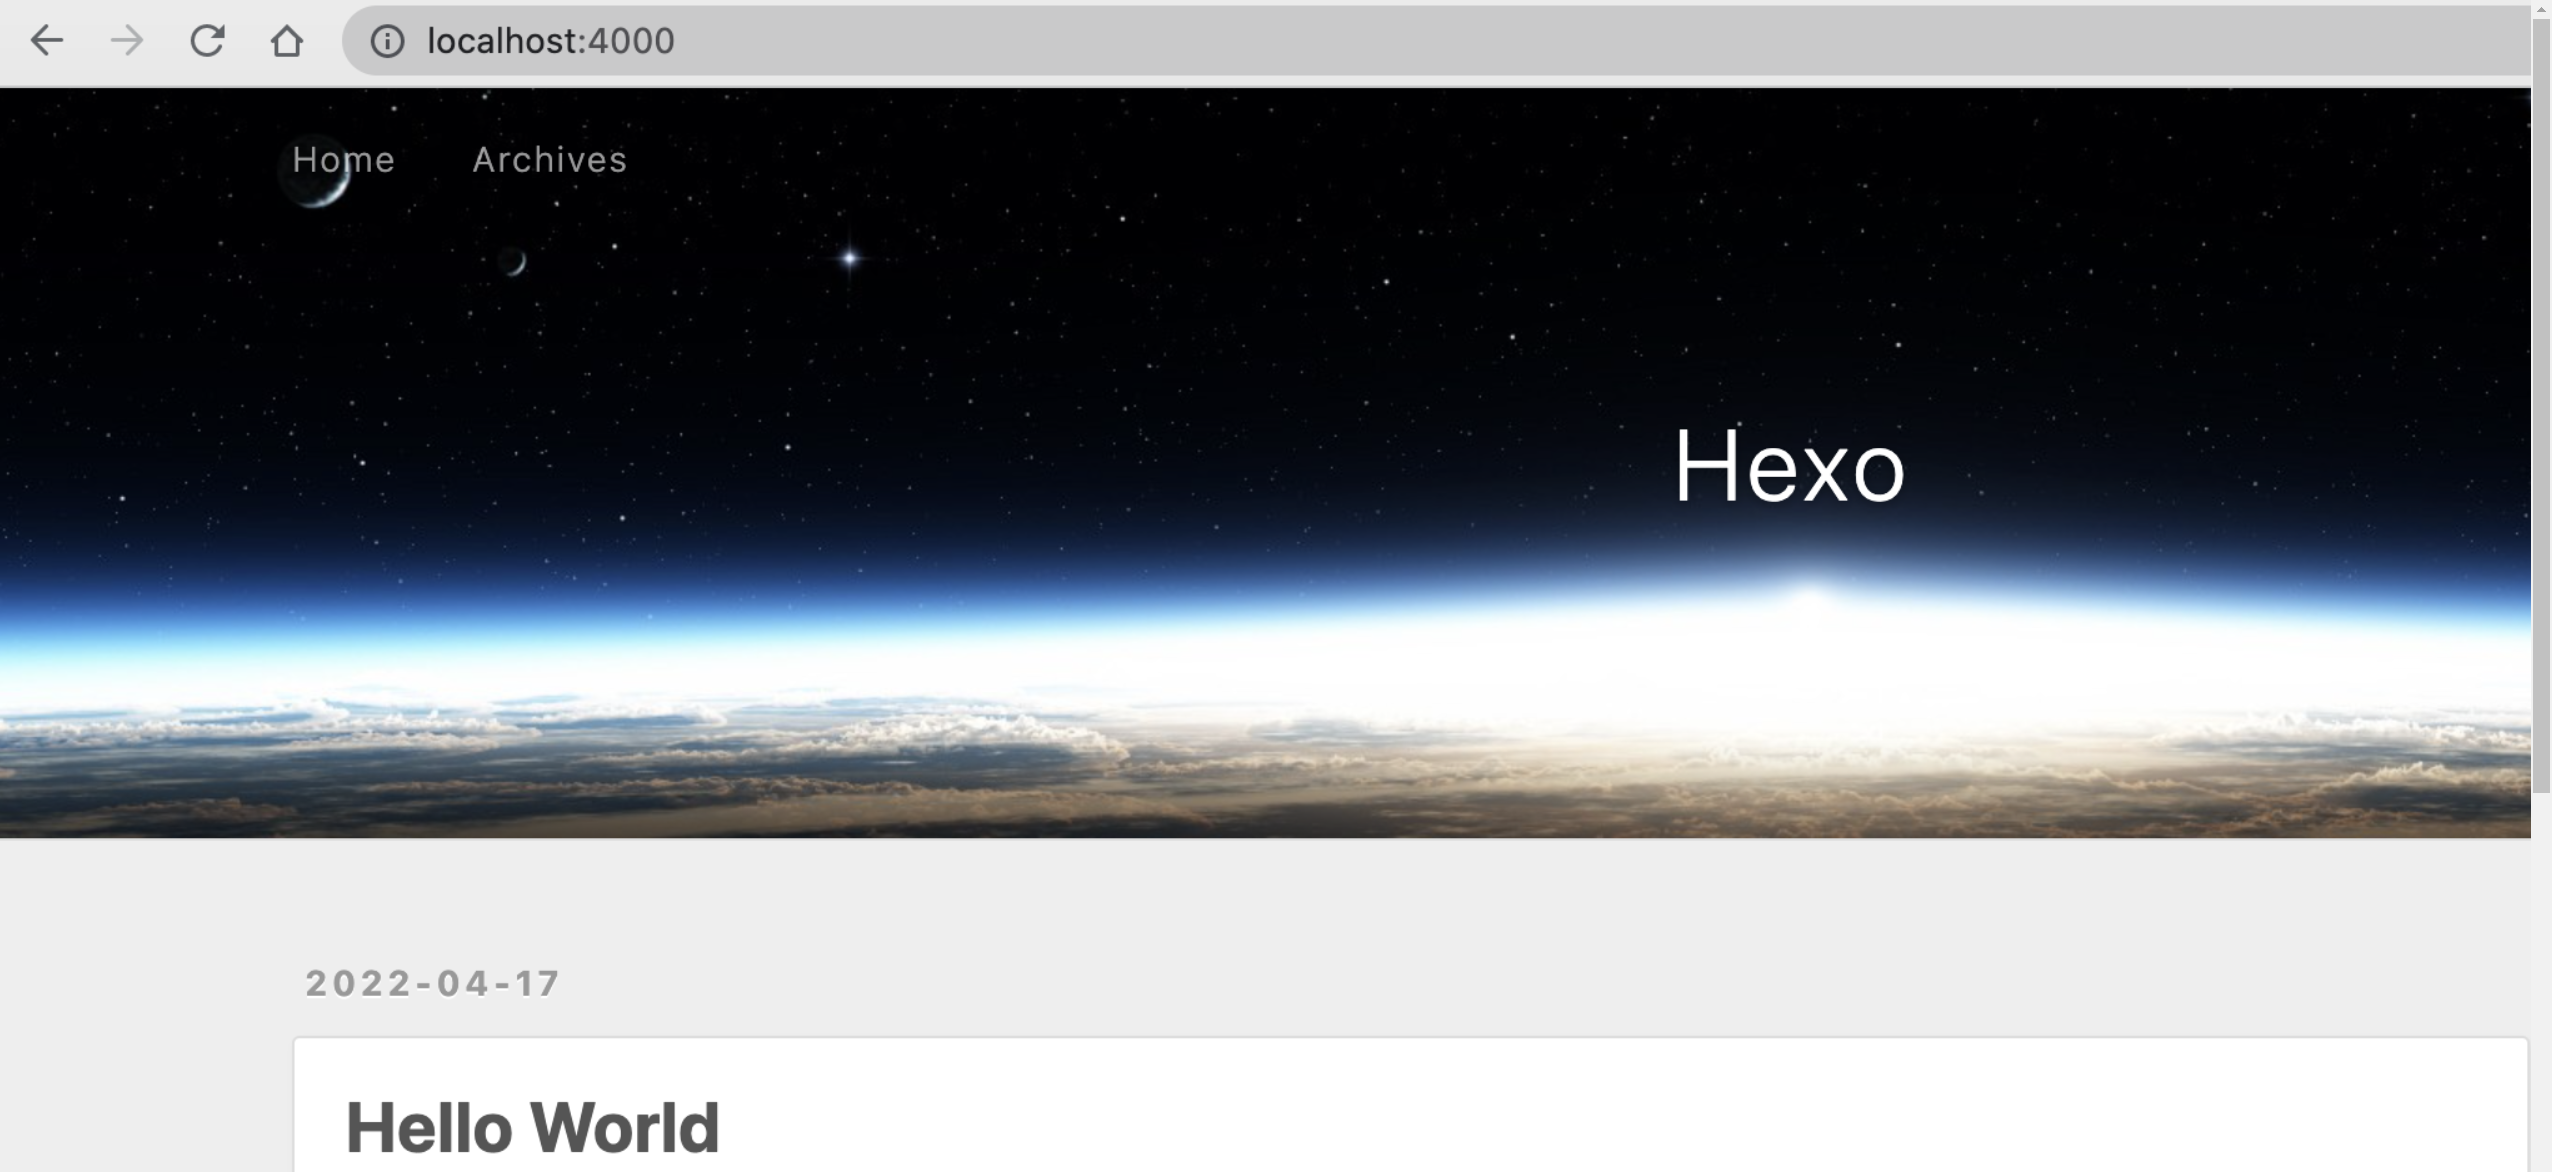
然后使用浏览器访问 http://localhost:4000,看到下面的效果就说明成功运行了。
下面我们准备部署博客到Gitee上面去,先回到博客的根目录下,找到hexo的配置文件_config.yml,打开它编辑,找到下面的配置项,如果没有的话手动添加一下就行
1 | # URL |
回到博客的根目录下,打开命令提示符,不会cd命令的小伙伴直接在最上面路径输入cmd回车即可,然后输入以下命令:

1 | npm install hexo-deployer-git --save # 安装自动部署工具 这一步是必须的 |
新生成一篇博客,生成的博客会在source/_posts路径下,直接编辑对应的md文件即可
1 | hexo new welcome # welcome是生成的文件名 也会是新博客的默认标题 |
打开welcome.md 开始编辑,注意markdown的语法,markdown的具体语法请自行搜索谷歌,注意tags可以用来标记标签,这样这篇博客就可以通过标签分类,也可以写categories来分类,但我一般不使用categories。在虚线后的就是博客的写作区域。
1 | title: welcome |
重新执行hexo部署命令,推送到Gitee
1 | hexo clean # 清除之前生成的静态页面 |
打开GiteePages服务,更新部署,注意每次推送以后都要来这里手动更新才会生效,所以我建议尽量多写一点内容再推送。
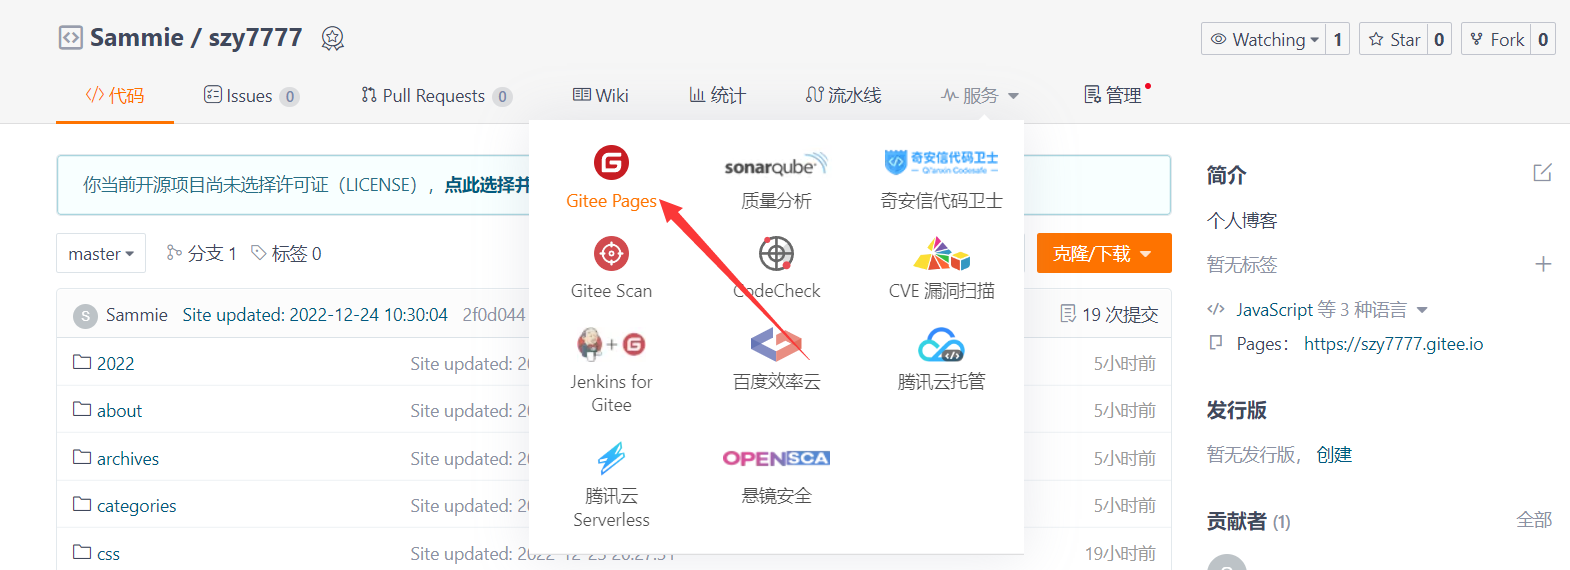
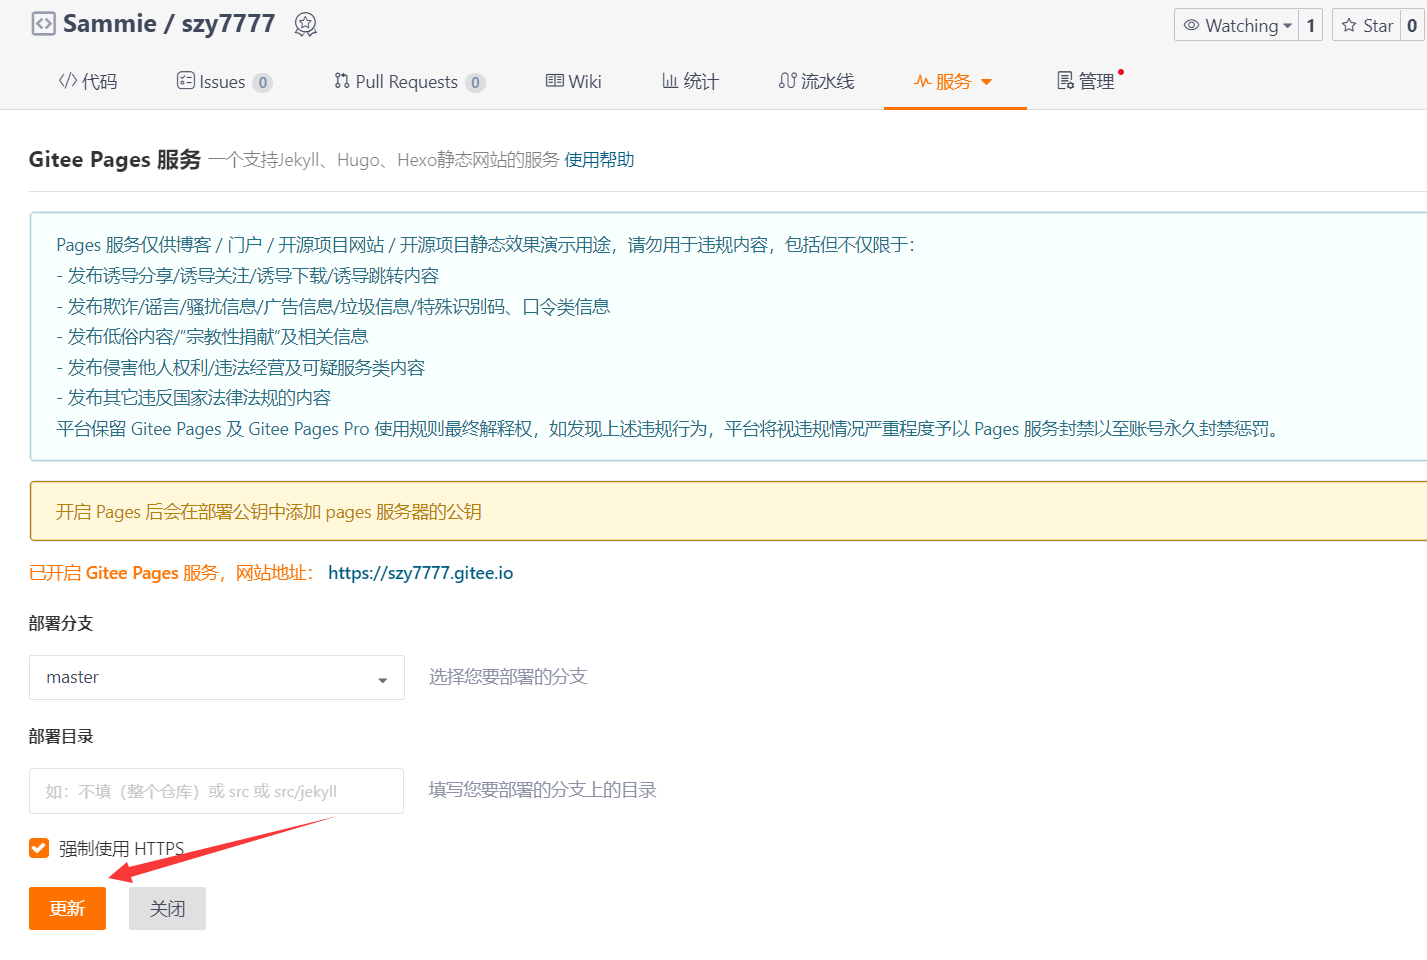
等待部署,当出现已开启Gitee Page服务的时候,使用后面给的地址直接进行公网访问!
开启Hexo图片上传
由于我们的博客经常会使用到图片,因此我们需要一个图片上传的插件,在hexo目录下打开cmd,输入以下命令:
1 | npm install hexo-asset-image --save # 使用hexo-asset-image插件 |
然后找到hexo根目录下的_config.yml,修改
1 | post_asset_folder: true # 开启文章文件夹生成 这样每次生成新文章的时候都会创建一个同名文件夹 |
在node_modules下的hexo-asset-image文件夹下找到index.js修改为以下代码
1 | ; |
从此以后每次都可以用hexo new 文章名来创建新文章的时候,会自动生成一个同名文件夹,这篇文章的所有图片都放到这个文件夹下,然后在md文件中使用以下语法来引用图片:
1 |  #例如 |
开启图片懒加载
由于在后续的主题配置或者是平常我们的写作当中存在较多的图片,这些图片很占用带宽,如果一次性加载的话会很慢,因此我们可以借助图片懒加载插件来进行懒加载,只有当滑动到图片所在位置的时候才会开始加载图片。注意下面的loading.gif可以自己去找网图。
安装hexo-lazyload-image插件
1 | npm install hexo-lazyload-image --save |
编辑_config.yml,开启插件,onlypost表示路由和文章页才懒加载,设置为false表示全局懒加载
1 | # 图片懒加载 |
启用ButterFly主题
Hexo默认自带的主题是landscape,我个人觉得不是很好看,所以我这个博客使用的是目前比较流行的ButterFly主题,由于这个主题的功能较多,因此配置项也很多,所以配置的时候需要多点耐心,如果觉得麻烦可以建议搜索Next主题也不错。
安装ButterFly主题
到hexo根目录下启动cmd命令提示符,输入以下命令安装主题(完成下载后你会发现thme下多了个文件夹就是butterfly):
1 | git clone -b master https://github.com/jerryc127/hexo-theme-butterfly.git themes/butterfly |
下载pug以及stylus渲染器
1 | npm install hexo-renderer-pug hexo-renderer-stylus --save |
下载本地搜索插件
1 | npm install hexo-generator-search --save |
修改_config.yml文件,切换主题为butterfly
1 | # Extensions |
然后打开\themes\butterfly下的_config.yml(注意不是根目录下哪个,是主题里面的这个),复制里面的内容,然后回到根目录下,创建_config.butterfly.yml,然后把复制的内容粘贴进去,以后修改主题的配置就修改这个文件
Hexo会自动合并主题中的_config.yml和 _config.butterfly.yml里的配置,如果存在同名配置,会使用_config.butterfly.yml的配置,其优先度较高。
然后修改根目录下的_config.yml,修改网站的各种资料,例如标题,语言等
1 | # Hexo Configuration |
配置ButterFly主题
打开根目录下的_config.butterfly.yml,逐步修改其中的参数,注意这里参数比较多,要有点耐心!
修改博客右上角的菜单栏,修改完下面的内容以后先保存一下,因为tags、about、link这三个页面需要自己单独设置一下
1 | menu: |
配置tags、link、about页面,打开cmd命令提示符,输入以下命令:
1 | hexo new page tags |
分别在source找到这三个文件夹中的index.md文件,打开编辑
1 | title: 标签 |
1 | title: 友情链接 |
1 | title: 关于我 |
以后想修改关于我这个界面的内容就直接到/about/index.md当中修改即可,下面重点介绍一下友情链接的添加方式:
在 Hexo 博客目录中的 source/_data,创建一个文件 link.yml
1 | YAMLclass: |
然后回到_config.butterfly.yml,继续编辑其他内容
代码块显示设置,会在代码块的右上角出现一个可以复制的按钮
1 | highlight_copy: true |
启动本地搜索
1 | # Local search |
修改副标题
1 | # the subtitle on homepage (主頁subtitle) |
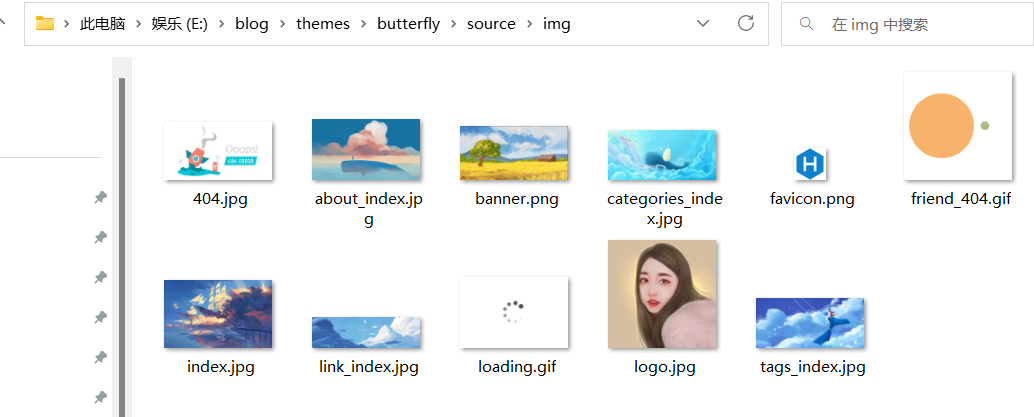
图片设置,所有的配置图片放到/themes/butterfly/source/img下
网站图标
1
2# Favicon(网站图标)
favicon: /img/logo.jpg头像
1
2
3avatar:
img: /img/logo.jpg #图片路径
effect: false #头像会一直转圈主页封面图片
1
2# The banner image of home page
index_img: /img/index.jpg文章详情页顶部图片
1
2
3# 当没有在front-matter设置top_img和cover的情况下会显示该图
# If the banner of page not setting, it will show the top_img
default_top_img: /img/categories_index.jpg #我设置的本地图片归档页顶部图片
1
2
3#归档子标签页图片
# The banner image of archive page
archive_img: /img/archive.jpgtag页顶部图
1
2
3
4#tag页(标签页)
# If the banner of tag page not setting, it will show the top_img
# note: tag page, not tags page (子標籤頁面的 top_img)
tag_img: /img/tags_index.jpg文章封面
1
2
3
4
5
6
7
8
9
10
11
12# 每篇文章都可以设置一张封面,可以为每篇文章设置默认封面
# 也可以修改每个md文件的front-matter的cover属性,会覆盖上面的默认封面。
cover:
index_enable: true # 是否展示文章封面
aside_enable: true
archives_enable: true
position: both # 封面展示的位置 left/right/both
# 当没有设置cover时,默认展示的文章封面
default_cover:
# 当配置多张图片时,会随机选择一张作为 cover. 此时写法为
- https:
- http:
侧边栏样式修改
- 调整侧边栏出现的位置
1
2
3
4
5
6aside:
enable: true
hide: false
button: true
mobile: true # display on mobile
position: right # left or right 我的是右边 - 个人信息
1
2
3
4
5
6
7
8
9...
card_author:
enable: true
description: # 描述
button:
enable: true
icon: fab fa-github
text: 关注我 #按钮文字
link: https://github.com/xxxxxx #可以放上自己的github地址1
2
3
4
5
6
7# social settings (社交圖標設置)
# formal:
# icon: link || the description
#书写格式:图标名:url || 描述性文字`
social:
fab fa-qq: tencent://AddContact/?fromId=45&fromSubId=1&subcmd=all&uin=825552510&website=www.oicqzone.com || QQ
# fas fa-envelope-open-text: mailto:825552510@qq.com || Email
效果图: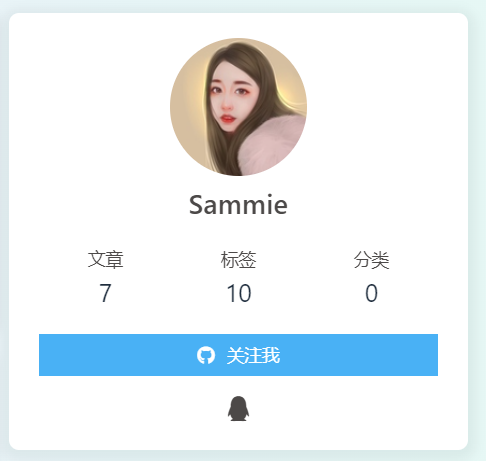
- 公告栏设置
1
2
3
4...
card_announcement:
enable: true
content: 欢迎大佬们互换友链,期待大家内推我 #修改公告栏信息 - Toc目录
1
2
3
4
5
6
# toc (目錄)
toc:
enable: true
number: true # 自动开启父子标题序列号
#style_simple: false
auto_open: true # 自动展开子栏
修改网站背景
博客的背景默认是白色的,如果你想换成和我一样的背景渐变色,你可以先在\theme\butterfly\source\css\目录下创建一个background.css,然后把下面的内容复制进去保存:
1 | //代码百度得来 |
然后修改_config.butterfly.yml,修改引入方式:
1 | # Inject |
注意:如果此时背景色并未生效,尝试在_config.butterfly.yml文件中添加以下内容
1 | # Website Background (設置網站背景) |
修改footer背景,开启以后会和顶部的图片保持一致,还可以设置底部的自定义文字
1 | # footer是否显示图片背景(与top_img一致) |
背景特效,开启后可以在背景设置动态或者静态的彩带,或者是星空特效,我默认都没开启,你可以把其中一个设置成true
1 | # Background effects (背景特效) |
文章分享功能
1 | # Share System (分享功能) |
开启评论功能
我使用的是valine的评论,因此需要先去LeanCloud注册一个账号,注册好以后创建开发者应用,然后复制appID和appKey,最后写入到_config.butterfly.yml
1 | # valine |
美化页面展示,开启后文章页标题左边会出现一个链接符号,但注意不是锚点只是起到装饰作用,锚点是在标题的右边我不建议开启
1 | # Beautify (美化頁面顯示) |
1 | # 锚点 不建议开启 没什么用还很难看 |
结束语
OK到这里就大功告成了!ButterFly不太适合第一次玩Hexo的新手,或者就是要有点耐心才行,以后我会持续更新我的博客,不管写的好不好都是一种学习的记录。